A helpful Map Maker tutorial explaining how to use GPS overlays! Perfect for surveyors on the moveWith the latest update to Google Map Maker: the "Overlay" feature, you can now add your own maps and images on top of the regular map to help orient yourself and guide your mapping.
1. Enable Overlays
First, make sure that Overlays are enabled on Map Maker. To do this, access the "Labs" by clicking the green labs icon

on the top right-hand corner of the screen. Then make sure that "Overlays" is switched to "Enabled" and click "Save". The "Overlays" button should now appear before the "Map" and "Satellite" buttons on the viewport.
2. Find or Make Content
To access
KML maps or Images in Google Map Maker with the Overlay feature, this content will need to be online and you will need its web address. See "Where to host content" for suggestions. In this tutorial, we will use a KML map already online from
Panoramio, a Google-run website where users can share geotagged photos.
3. Add Content to Map Maker
Once you have a web address for the content you'd like to see in Google Map Maker, you can add this web address to your Overlays. To do this, first go to the Google Map Maker homepage:
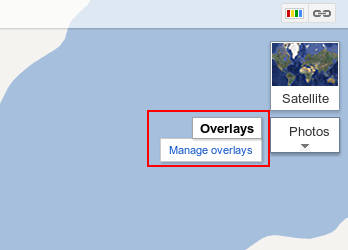
http://mapmaker.google.com and sign in using your Google Account. Next, click on the "Overlays" tab on the upper-right hand corner of the map view. (see image below)
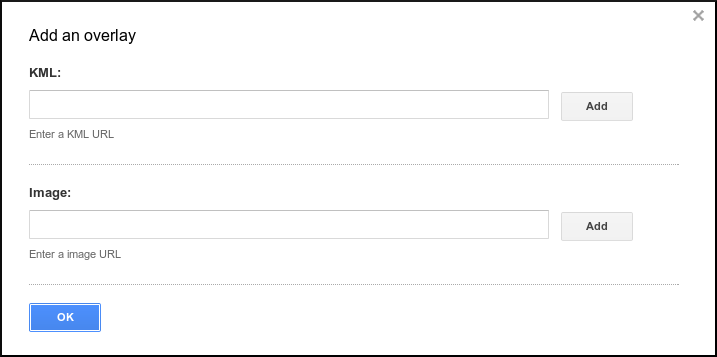
Click the "Manage overlays" button. This will open a window where you can add KML and Image web addresses. For this tutorial, copy the following Panoramio KML url text:
www.panoramio.com/kml , enter it under the section that says "KML:" in the dialog box, and click "Add". (see image below) When you are finished managing your overlays, simply click "OK".
4. Enjoy Mapping with new Data!
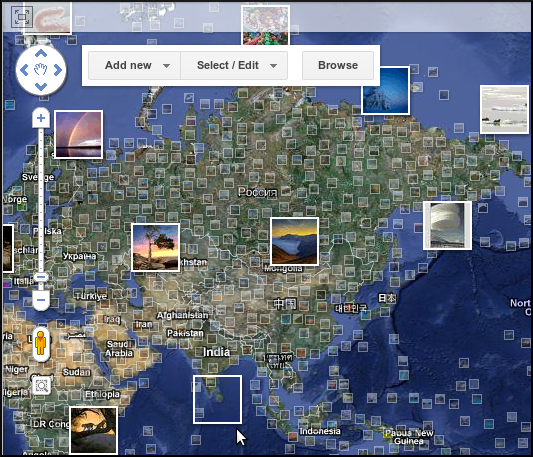
If adding the web address of the Panoramio KML file has worked, you will see the image below. When zooming in, you may need to pause in an area for some time for the KML file to load. Overlays will only be kept while you have Google Map Maker open your web browser as they are not stored with your user account. If you close or refresh your browser, you will need to repeat the steps above again to see your Overlays.
Click the "Overlay" button to turn on and off the overlays. Click the "Manage overlays" link again to add and remove your overlays. If you want to add more URLs, you can continue to enter them one at a time under the appropriate "KML" or "Image" field and click "Add". To remove a link, simply click on the boxed "X" next to the URL you'd like to remove. Connecting to too many links may slow down your Map Maker connection.
You can now turn on and off the Overlays tab as you like in order to better help you map. Panoramio photos are great for helping you see what areas look like on the ground. This will let you orient yourself when looking at the world from above as well as give you ideas of what additional landmarks, points of interest, etc. may be worth adding to


Thoughts